

Oops, did you catch yesterday's title post problem? (How to Your Solve Tension Problems)
- Bonnie Langenfeld from Landscapes in Fabric
- May 9, 2017
- 2 min read
Updated: Jan 9, 2025
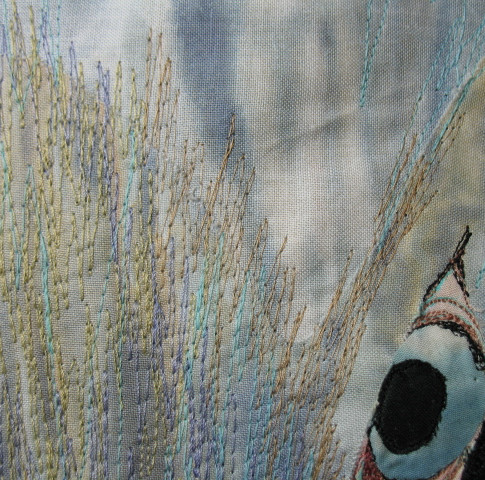
Every sewing machine seems to have a mind of its own when it comes to thread tension. Variables abound, such as thickness of the materials being stitched, weights of top and bobbin threads, kind of thread being used, free-motion versus regulated stitching, and on and on. I am sharing my favorite thread tension problem solvers today. They work very well for me and my students. Because my work is done mainly in free motion, and that seems to create the most 'tension', I'll tell you how I solve the problems. (Sorry, I couldn't resist that.)
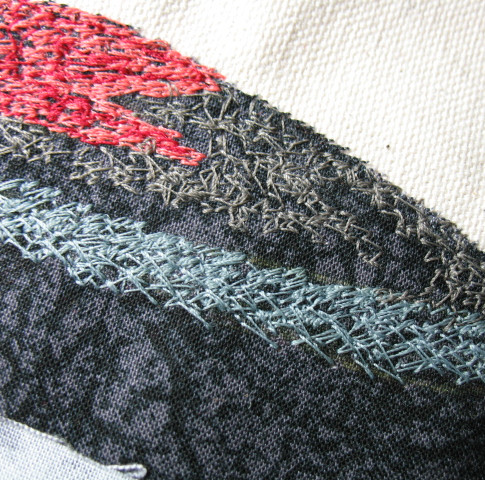
Having the proper thread tension means that the bobbin thread doesn't show on the top side of your work and the top thread shows only a bit, if at all, on the back side. Threads lock, or hook around each other in the middle.
For my fabric pictures I almost always make my surface designs on a stabilizer with no batting because I mat and frame the work. That means there's less depth in the layers to perfectly hook the threads together. As I said, I use free-motion almost exclusively and sometimes the quick and irregular movements of free-motion cause pulled top stitches to show on the back.
Drum Roll Please
Tip #1-Use a fine bobbin thread! Now called 'Bobbin Thread' it is usually 70 weight thread. (It was originally made as lingerie thread.) Because it's so fine, you can get tons on a bobbin (less winding!!) and it's less likely to show on top. Many brands sell bobbin thread in colors, and several are selling pre-wound bobbins. I only use white (for stitching on light fabrics), or black (for darks). Sometimes I forget to switch colors and black still doesn't show when I stitch on white! I use a normal 40,50, or 60 weight in the top. Any color top thread can be used. (If you find bobbin stitches are still popping up on top, loosen the top thread tension on your machine by turning the dial to a lower number. Keep experimenting with that dial until no bobbin thread shows on top. The lower the number, the less tension pressure is placed on the threads by the discs, and therefore distributing more thread into the machine and pulling less on the bobbin thread.)
Tip #2-Cover the back! After finishing the picture, I lay another piece of fabric on the back and serge the edges. Even though someone may remove the picture from its mat and frame, no one will see an unfinished back with thread loops or thread ends.
You can find more information about thread use in my New Two Stitch Magic class which demonstrates all my stitching techniques. You'll find they are the most direct, simple, and effective way to add dimension making details to any fabric picture. They're great for quilt borders, block details, medallions, framed pictures, and lots more.
If you're still having tension problems, try sewing after having a glass of wine-you won't be tense and if your thread tension is off, you won't care! Just have fun!


I you're still having tension problems, try sewing after having a glass of wine-you won't be tense and if your thread tension is off, you won't care! Just have fun! -- Genial!!!!